

Bike accessories are designed to enhance your riding experience but with literally thousands of options, it can easily overwhelm. To help you sort through the copious amount accessories out there, we've listed the basic items that all road riders should consider purchasing to make riding easier, safer and more enjoyable.
Helmet
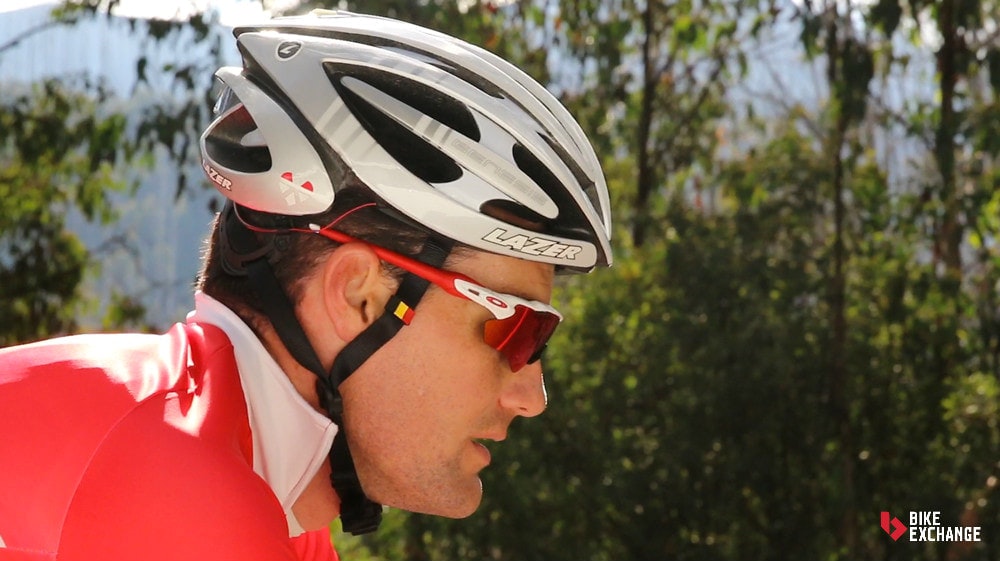
Helmets protect the most important thing we have and without being too dramatic, wearing an approved, properly fitted helmet can be the difference between surviving a crash or not. Wearing a helmet is required by law in Australia and our safety standards are some of the most stringent in the world. As such, leading global helmet manufacturers must satisfy the strict testing requirements to receive Australian Standard approval, and this has to be done for each particular model that is intended for sale within Australia. When looking for a helmet there are some key considerations.
Ventilation: It's important for helmets to have adequate ventilation to keep you cool and comfortable on the hottest of days. A helmet with sufficient vents will channel air over your head, keeping you from overheating.
Weight: The benefit of road specific helmets is they are generally lighter than other helmets due to using thinner straps and a lighter shell. The lightest helmets can be less than 200g, and typically, the higher the cost, the lower the weight.
Aerodynamics: In recent time, the search for enhanced aerodynamics has been relentless, and helmets have been a large part of it. An aerodynamic helmet can have the same aerodynamic benefits as a set of deep dish wheels, so if it's free speed you're after, investing in an aerodynamic helmet is the way to go. Most of these helmets will have few vents (if any), a smooth surface and often be shaped with a 'tail' to reduce drag.
Safety: As mentioned, helmets that meet the Australian Standards are some of the safest in the world but there are always gains being made in the interest of safety. MIPS technology is one such development that is designed to reduce 'rotational violence' to the brain, dissipating some of the rotational force and providing extra protection in the event of a crash. Look for helmets with either MIPS or other additional safety features for added security.
Fit: It important to try on a helmet to make sure it is going to fit. The shell shape is the most important aspect, as adjustable tension systems and straps can easily be adjusted to suit.
Other: Some other features to look out for are comfortable padding that is removable and washable, an adjustable dial to make small fit adjustments, and enhanced visibility via bright colours or reflective stickers.
Shoes
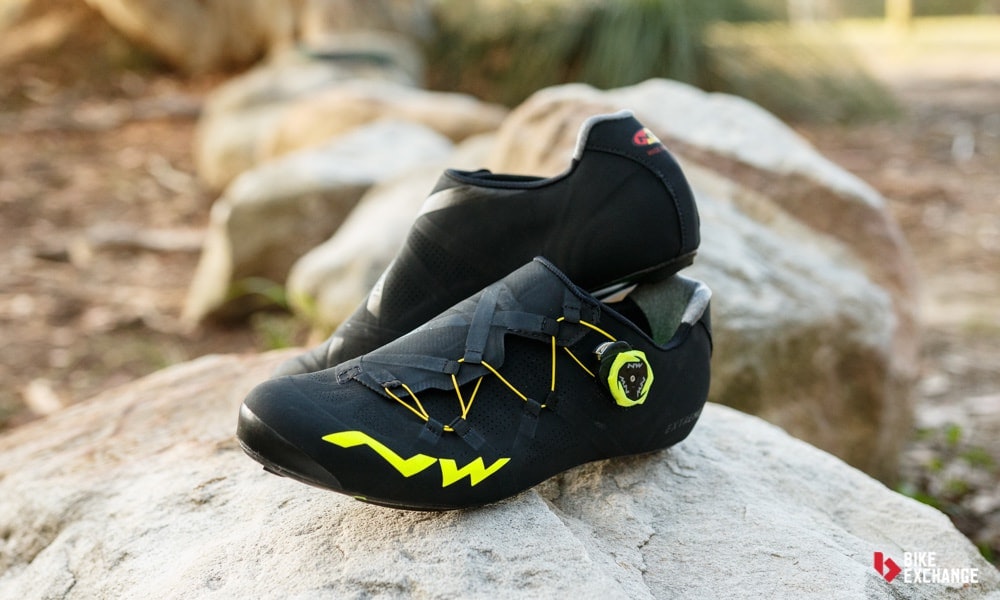
As one of three contact points a rider has to their bike, shoes are exceptionally important to ride quality and performance. Road bike shoes are designed to be lightweight, stiff to improve power transfer and have a number of widths and closing mechanisms to cater for individual needs. Below are some key considerations when choosing a bicycle shoe.
Sizing: Before looking for the lightest, fastest, stiffest shoe, it needs to fit properly and be comfortable. Some shoes will come in half sizes and different widths to fit a variety of shapes and sizes. Size charts can be useful but the best practice is to go to a shop and try them on to make sure they fit in length, forefoot width, and provide a snug hold at the heel.
Shape: Each shoe will have a slightly different last, affecting the width of the shoe along its entire length. Some will be narrower in the heel to prevent slippage, while some provide a wider than normal toe box for wide feet or splayed toes. It's also an important consideration if you have particularly wide or narrow feet.
Cleats: Cleats are mounted to your shoe and are what lock you to the pedal. This ‘clipless’ setup allows the most efficient transfer of power and speed through your bike. Road shoe cleats have a three-bolt system with a larger surface area for improved power transfer and foot stability, while your typical mountain bike cleat is a two-bolt system designed to consider walking and debris clearing. It's fine to use a mountain bike pedal and shoe setup on a road bike, it typically offers an easier double-sided pedal design and is easier to walk in, however, such shoes are heavier.
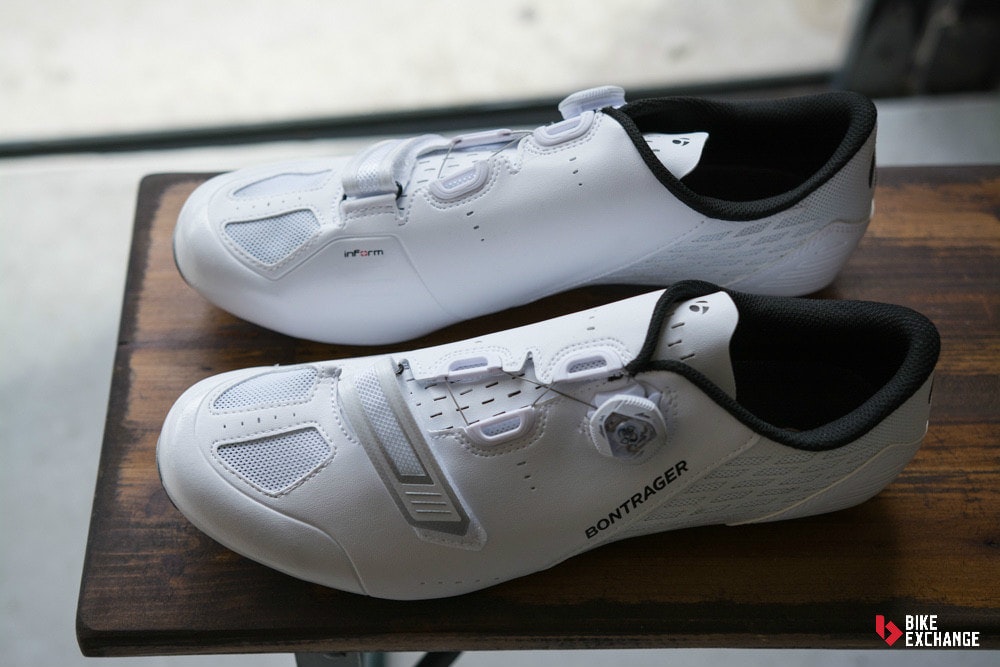
Fastening mechanism: Many different methods of fastening your cycling shoes now exist on the market. Beyond the more traditional velcro strap option, a ratchet system or dial may be preferred for a more precise and refined adjustment. Alternatively, laces are back in fashion and offer that classic look.
Ventilation: Just like a helmet, it's important for shoes to provide sufficient ventilation for your feet to breathe and remain cool. This is especially important for your feet as they will expand with heat and as blood pools over an extended period of time. Finding the right amount of ventilation for your environment and preferences is key, too much and you might be too cold, not enough and you might get numb feet from being compressed. Vents are often found in the base of the shoe and around the toe area.
Sole Stiffness: Basic road shoes feature nylon soles, while premium road shoes will typically feature a carbon fiber plate to enhance stiffness and reduce weight. The stiffer the plate the better the power transfer and overall performance. The lack of compliance with overly stiff plates can create discomfort for some, so checking reviews and taking advice from others is a good idea.
Clothing
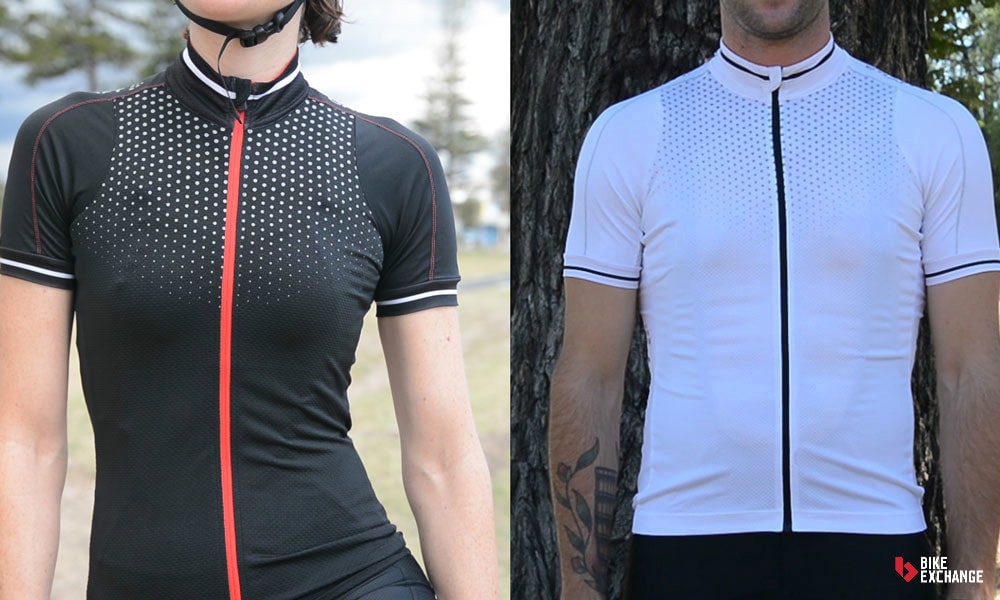
Road cycling clothing is made to fit close to the body to improve aerodynamics and prevent chaffing. There are many different fabrics to chose from, and typically the more it costs, the better it is for weight, breathability, and comfort. Synthetic fabrics like polyester and elastane are commonly used as they provide lightweight, stretchable, wicking and highly durable clothing. Often these synthetic materials are blended with natural ones like cotton to improve breathability. Assessing the quality of clothing can be difficult as factors such as fit, colour fastness to perspiration and light, water resistance, anti-bacterial properties and many others all combine to produce a 'good' garment.
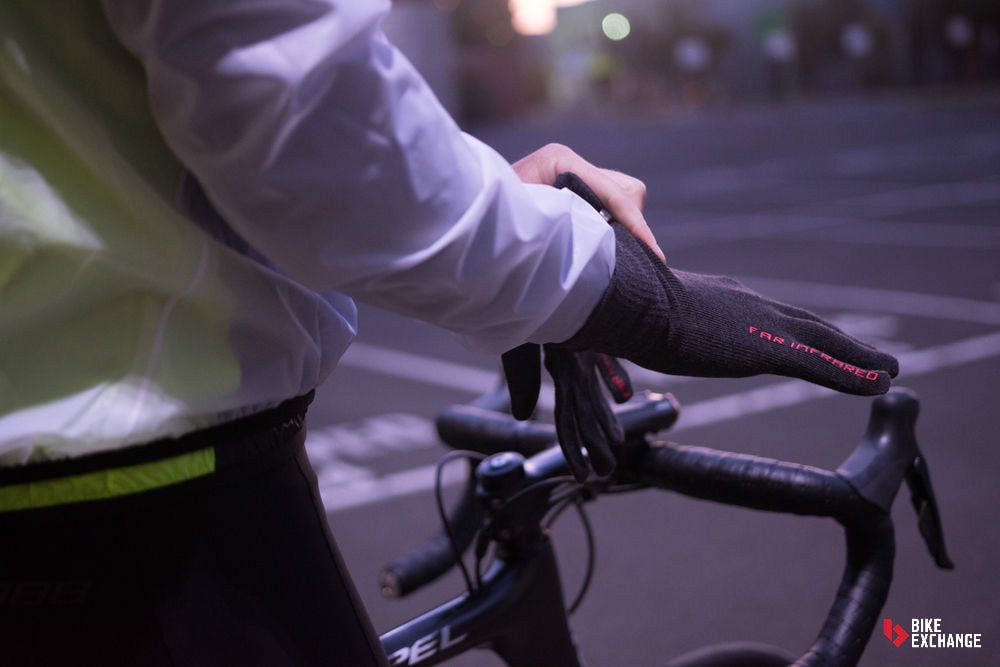
If fast riding is your aim, it's best to look for movable, breathable fabrics that are lightweight and will keep you cool. For training through colder temperatures look for fabrics that are water and wind resistance, potentially with an insulating layer if things really get cold. Here's a guide on what clothes to choose and how to layer up and stay warm in all weather conditions. And when it comes to protection from the sun, not all fabrics are created equal, so look for fabrics with a 50+ UV rating.
We created a custom clothing buyer's guide, which may be a useful reference for all types of cycling clothing as it details material choice, the right chamois, getting the right size, warranty, and quality control.
Sunglasses
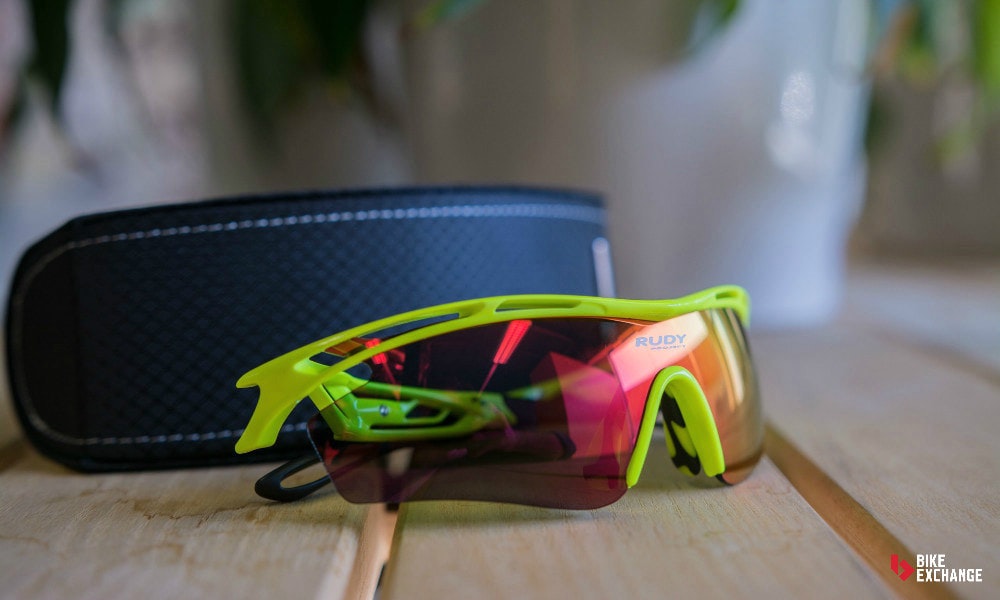
Road specific sunglasses are generally lightweight, with a mix of interchangeable lenses and a large field of vision so to not obstruct your view whether you are riding aggressively in the drops or sitting up climbing a mountain. It's always a good idea to check for a comfortable fit on your head and ensure the sunglasses fit with your helmet too.
Airflow (or lack of it) will depend on the choice of eyewear, with some models limiting airflow to be better suited to cold conditions and sensitive eyes, while others will increase airflow to keep you cool in hot conditions. When assessing sunglasses for airflow, be sure that there is a sufficient amount to prevent the lens from fogging up when you are stationary.
When assessing the lens, be sure there is 100% ultraviolet (UV) protection to reduce your exposure to harmful UV rays. Some high-end sunglasses will have polarized lenses that reflect light reducing glare and eye irritation as a result. Photochromic lenses (aka transition lenses) adjust to changing contrast better than non-photochromic lenses, making the transition from light to dark (and vice-versa) better.
Be sure to pay particular attention to the field of vision a pair of sunglasses provides. Ideally, you won't see any of the frame when riding your bike, regardless of the position you adopt. Oakley and 100% are two such brands that have expanded the lens and the frame at the top third of their sunglasses to increase the field of vision when sprinting or in an aero position and looking up the road.
Lights
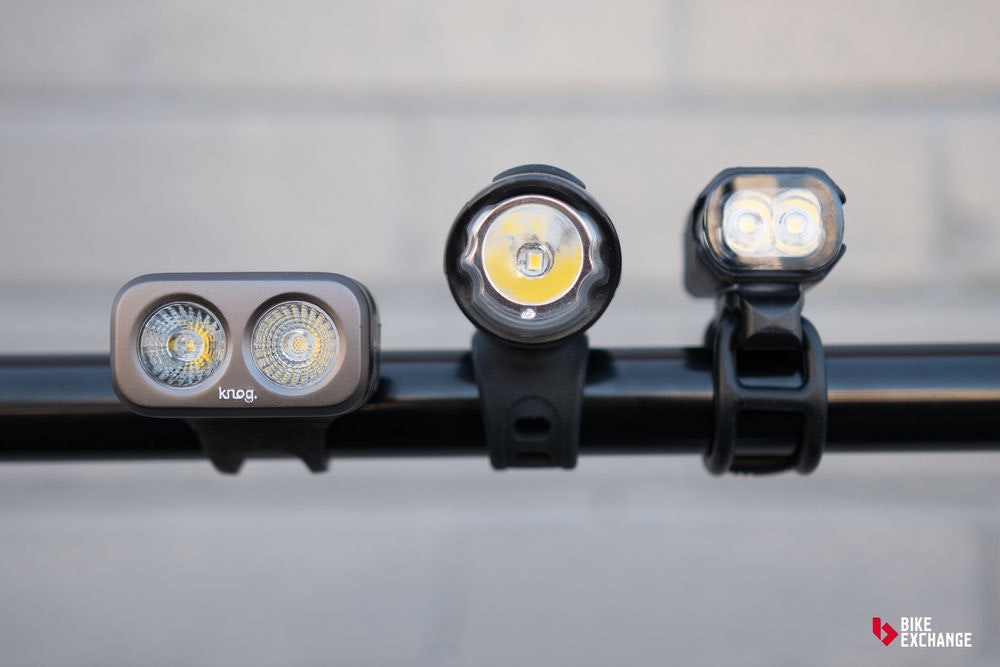
Riding with bike lights is a no-brainer, regardless of whether you predominantly ride during the day or in the dark. A Denmark-based study concluded that eight out of ten cycling accidents occurring during the day, and the use of lights during the day is the number one thing cyclists can do to make themselves safer. We've highlighted the key features to keep an eye out for when choosing bicycle lights.
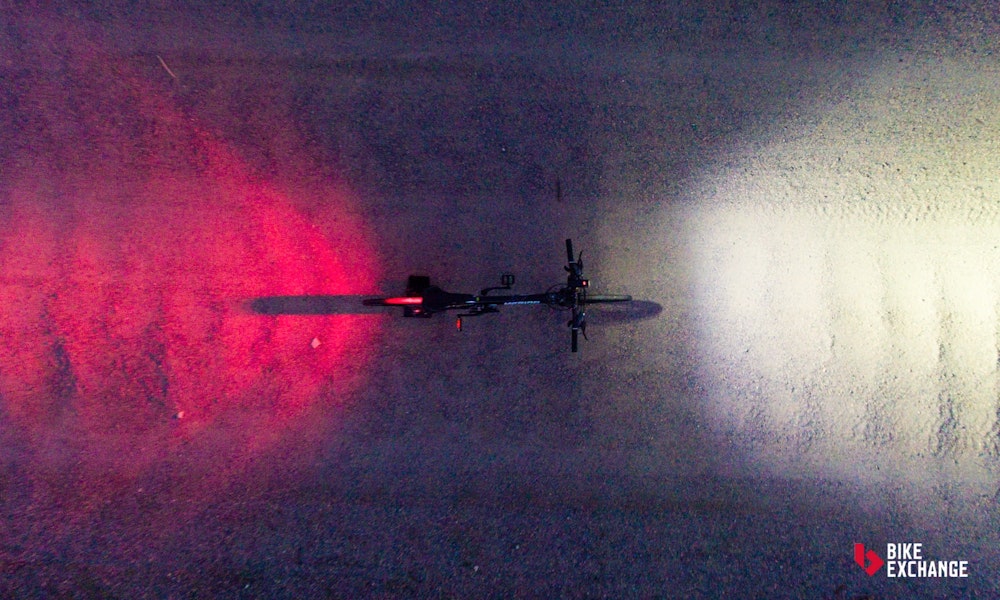
Be seen or to see with: If you ride in the dark or poorly lit roads, you'll need lights to see with. These lights generally have a greater brightness, a larger battery to power the brighter light, and a narrow beam angle to see into the distance. If you only ride during the day or on well-lit roads, you may only need lights to be seen to enhance your visibility and safety. In this case, lights will focus on being seen from more angles, with features such as a wide beam and side illumination, with less overall brightness, smaller batteries and a result, a lower cost.
Road Rules: Meeting the Australian road rules is a key consideration with any purchase. The rules stipulate if you are riding a bicycle at night you must have a white light (flashing or steady) on the front, a red light (flashing or steady) on the back and a red reflector on the back. The lights must be visible from 200m and the reflector visible from 50m. The 200m rule is the key requirement to look for when purchasing lights, regardless of whether they are to see or be seen.
Lumen count: Lumen is the most common descriptor you'll find on a light, indicating how much light is emitted, the greater the lumens, the greater the brightness. Bicycle lights start with as low lumen count as 30 and can go well beyond 2,000.
Mounting: Most lights are either secured in place with velcro, a screw that tightens a bracket around the handlebar bar or seatpost or, are mounted using a stretchable rubber strap. As a result, it's important to make sure each light and its mount are compatible with your bike.
Runtime and battery: The run time indicates how long the light will last from being fully charged to flat, and is largely dependent upon the size of the battery and power of the light. Look for lights that are USB rechargeable with long enough run times for your needs.
Budget: Lights can range from AUD$20 to in excess of AUD$400, with countless options in between. In all cases, be sure to compare lumens, beam angle, battery life and type, mount compatibility and design before making your final decision.
For more everything your need to know about bike lights and how to chose the right ones, check out our Ultimate Bicycle Light Buyer's Guide.
Computers
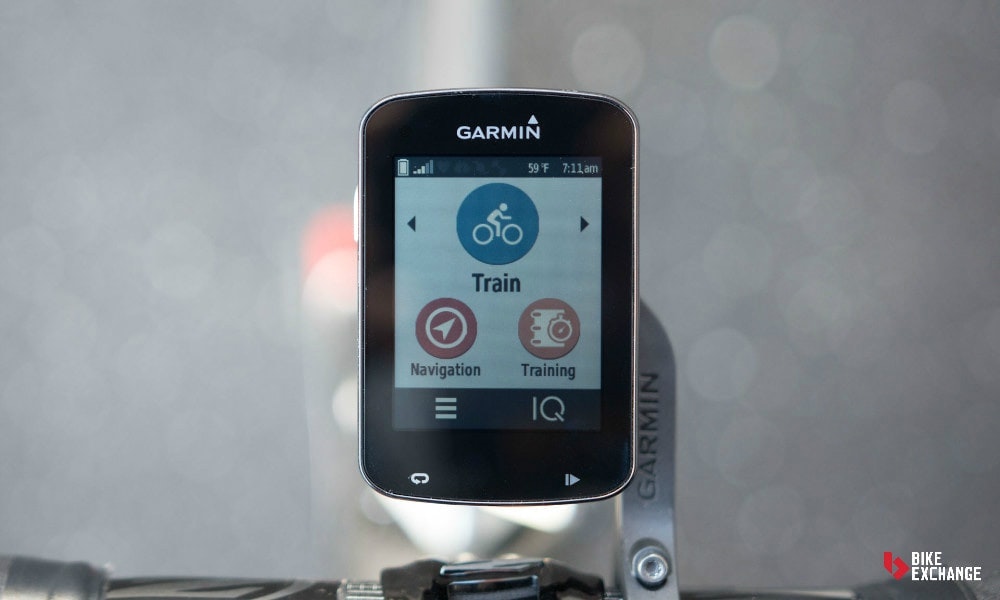
For many, the purchase of a cycling-specific computer is the number one thing that will raise performance and output on the bike. A cycling computer allows you to not only track your performance in real-time but also track your performance over a long period of time showing your improvement (hopefully). Cycling computers give us a wealth of real-time information including basic information such as speed, distance, and ride time. More expensive options will give more detailed and advanced information such as cadence (pedalling speed), gradient, heart rate, temperature, calories burned, mapping, power output and much more.
Having the key stats in front of you as you ride can help provide motivation to either increase or hold speed, achieve a set elevation gain, or cover a specific distance. Most cycling computers will also connect to third-party applications allowing you to compare your stats to your friends, set yourself challenges along the way and maintain your fitness goals.
When purchasing a cycling computer look for a clear display that's easy to view, long battery life and that's easy to mount to the bike. More advanced versions offer customisable data fields, connectivity with other devices (such as a power meter), a heart rate strap, while top-of-the-range options will add maps, smartphone connection for notifications and a touch screen.
Bidons & bottle cages
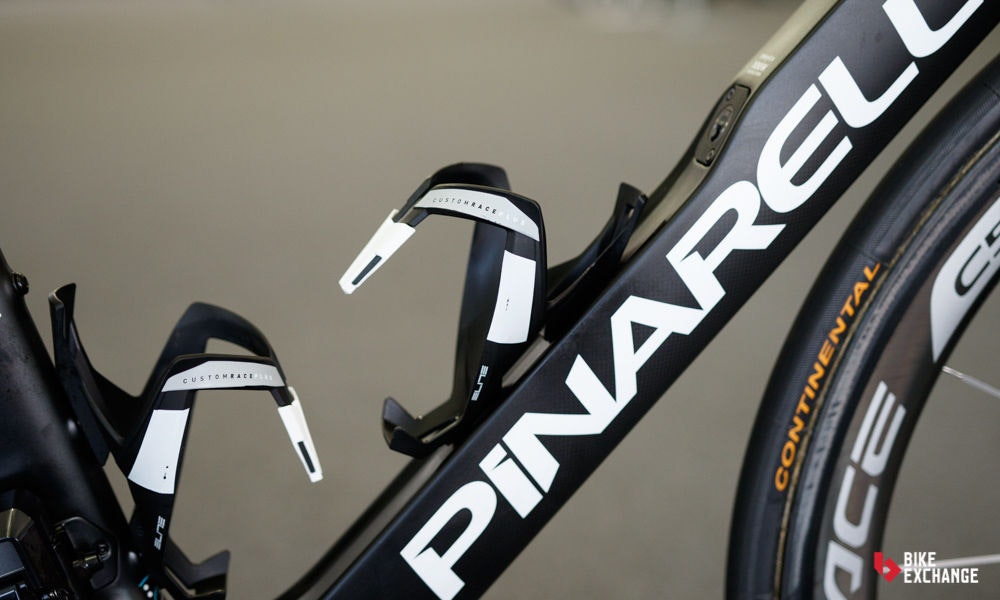
Bottle cages might not spring to mind straight away, however, ride for over 30 minutes and you'll soon find them essential. One bottle cage is likely enough for those doing rides under two hours, however, you'll want two on your bike for anything longer. Even if you're not big on proper hydration, a second bottle cage can be used to carry your spares in a cannister. A good bottle cage can potentially save you weight, remove any annoying rattling and also provide a secure hold for your bottles over rough roads. Bottle cages can be made from aluminium, plastic or carbon (depending on your price range), and typically with rubber grippers or some other form of security to hold your bottles in place.
When selecting a bidon (cycling speak for bottle), make sure it has enough capacity (amount of fluid it can carry) for your needs, a secure safety cap to prevent spillage, removable top to easily clean and refill, and that it fits your bike. Often riders on small frames with sloping top tubes will struggle to fit a second bottle on the seattube if it is too large, so best to check.
Bells
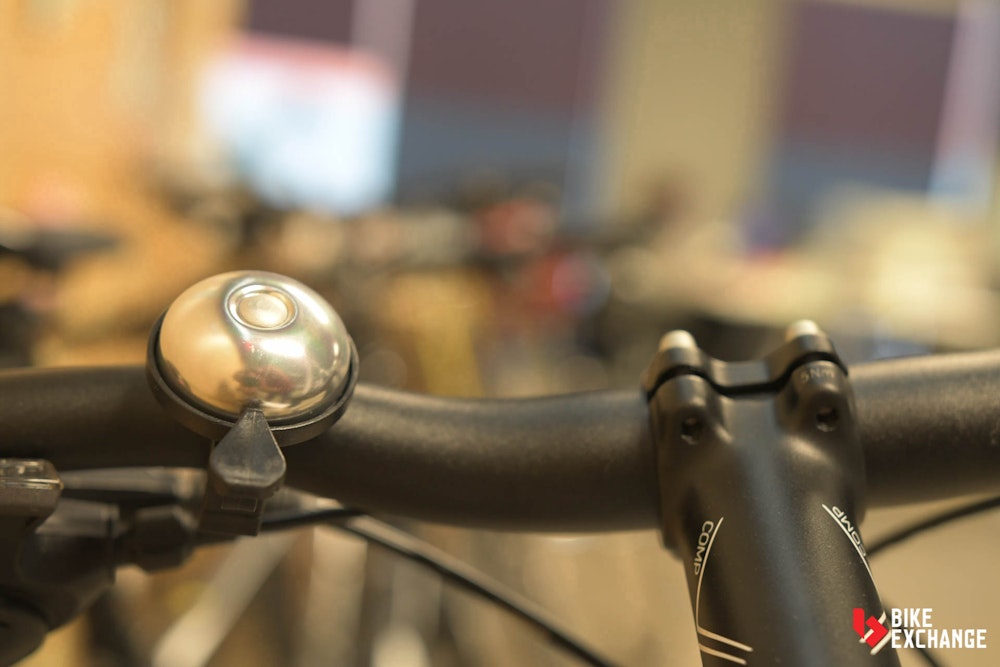
Bells, like helmets, should (and in some states must) be a permanent accessory on road bikes. They are a small, inexpensive way of letting people know you are coming and much more acceptable than yelling at people to move to the left. When purchasing, look for bells that are easily mountable to a variety of bar diameters, loud enough to be heard in traffic, and with a small footprint so it doesn't take up too much real estate on your bars, leaving space for that computer and light.
Saddle bag & storage
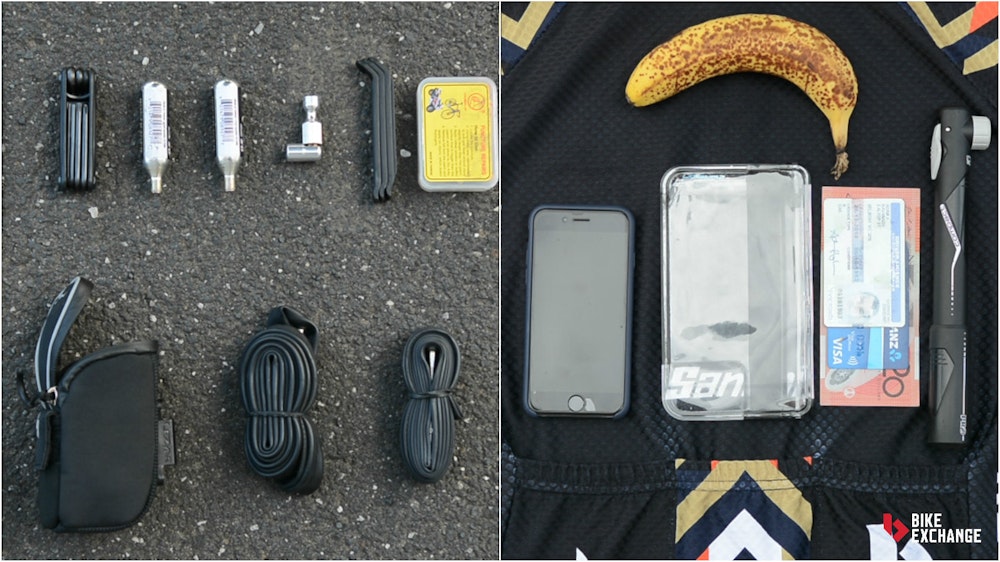
Storage on your bike isn't as exciting as a new kit or pair of shoes but is an essential piece of equipment that will enhance your riding experience, especially when you run into trouble. As most road bikes won't be used for touring or adventure riding, we're going to skip the use of panniers (bags usually mounted on the rear of the bike, used for touring and commuting when carrying large amounts of equipment is required) and focus on saddle bags (or similar), to store emergency spares like tubes, CO2 cartridges, and multi-tools.
There is an extensive list of things to pack for each ride including tyre levers, two tubes, a hand pump and/or CO2 cartridges and a CO2 inflator. If you didn't want to use a new tube each time you can also add a patch kit. Multi-tools also come in handy to fix things like loose handlebars, a dropped seat post or rubbing brakes, and typically include a variety of Allen key sizes and screwdriver heads (flat and Phillips), not to mention countless other small tools depending on how much you spend. As a result of all of these requirements, below are some key points to consider when purchasing a saddle bag or other storage device.
Space: Make sure your saddle bag has sufficient space to house everything we've listed above. Many bags will have compartments to separate your equipment and often have an external multi-tool sleeve to save space.
Weight distribution: The additional weight of carrying all of these items can quickly get out of hand, and so a saddle bag with uneven weight distribution can throw off your balance. As a result, look for an unobtrusive saddle bag that will sit comfortably and securely in the mid-line of your bike and won't shift around as you ride.
Installation: A good saddle bag should be easy to install and remove. Most mounting options are either velcro or a bracket that is secured to the seat rails which the saddle bag clips in and out of. Some people may opt to store their bag on the toptube for easy access and handy nutritional storage instead of jersey pockets.
Other: Make sure the contents of your saddle bag are secure and won't end up all of the roads. Most bags use a zip closing mechanism, but others may only use velcro. Bags will either be rigid or flexible and rider preference dictates which is better. A flexible bag could potential enable you to store more items than a rigid bag, but a rigid bag will offer greater protection and durability, though it may create more noise if your items are loose inside. And finally, ensure your saddle bag is water resistant.
Indoor training
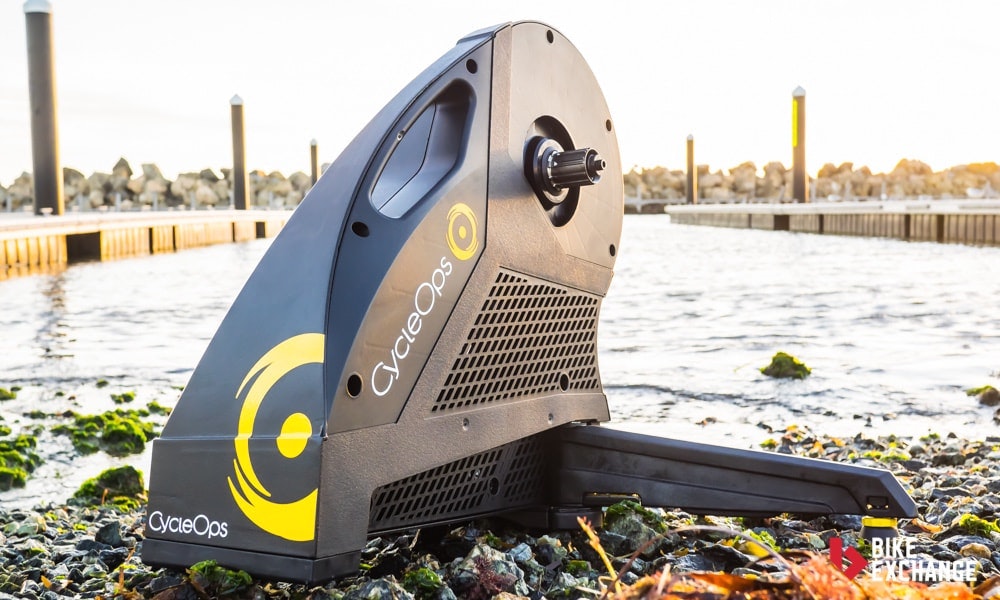
When we think of trainers we think of winter, cold weather, rain, wind... basically seeking refuge when the outside climate seem against us. However, they can also be a great way to perform really specific training, and thanks to the latest round of smart trainers, ride with friends in the virtual world. The controlled environment trainers provide can be beneficial for so many reasons, and so they are a great accessory to a road bike purchase. Below are a few points to consider before your purchase an indoor trainer.
Type: There are many types of indoor trainers, the main three being direct drive, tyre drive or rollers. A direct drive trainer connects to your bike via the rear drop outs, with a cassette (rear cogs) installed directly to the main unit. As a result, they provide a smooth feel, allow you to change gears as if you were on the road and won't wear out your rear tyre. A tyre drive trainer also connects to your bike via the rear drop outs but the resistance comes from an adjustable roller that contacts your rear tyre. The downside of such a trainer is the additional wear caused to your rear tyre. And finally, rollers are traditionally used by track riders, featuring three rolling drums that provide a realistic road riding feel that trains your balance, pedaling efficiency and core strength. All options have their pros and cons, so it's up to you which best suits your requirements and budget best.
Resistance types: Trainers use a variety of resistance methods that will effect the feel, cost, responsiveness and noise produced. The options are fluid (fluid inside the trainer naturally increases resistance as you pedal harder), magnetic (magnets inside the trainer are simple and effective) and wind (a fan provides resistance against the air). And again, all options have their pros and cons, for example, the fan system has a natural feel, but creates plenty of noise, while fluid trainers are far quieter but come at an increased cost.
SMART trainer features: SMART trainers are the latest craze offering a realistic experience by connecting to multiple devices allowing you to customise your workouts from the palm of your hand, or ride against your mates in a virtual world. These trainers are more expensive than more basic trainers but for many, the real-world experience and advanced metrics are worth it. Many SMART trainers provide speed, cadence, power (wattage), and slope (gradient), which are the key metrics to use when comparing models to one another. It's also worth checking their connectivity and third party app capability.
Practical features: The amount of noise produced, the weight and footprint are three key features in addition to the type and resistance method that need to be taken into consideration. As good as a trainer might be on paper, if it doesn't fit into your home, or it annoys the neighbours with excessive noise, it's not the right trainer for you.
Tyre inflation
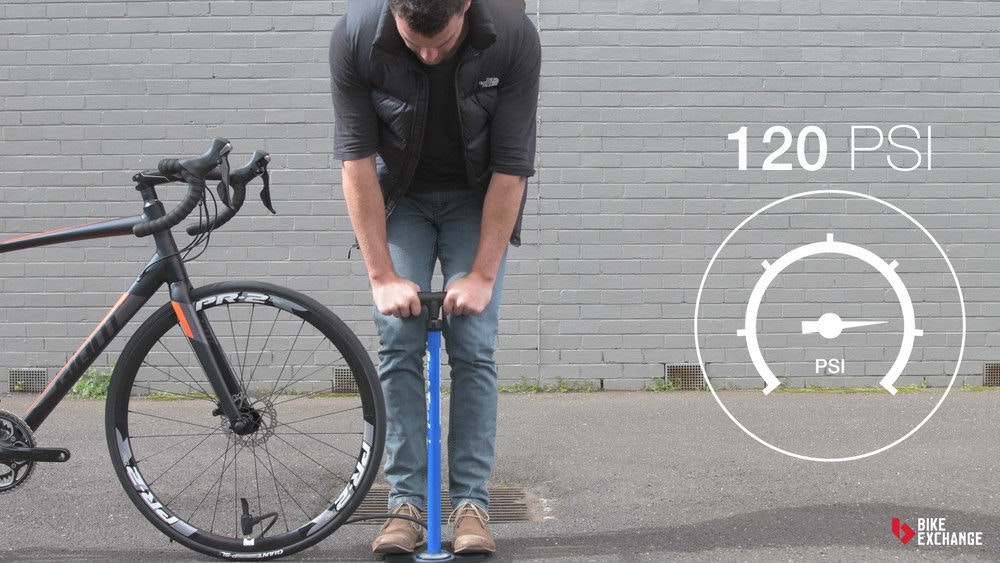
Having your tyres properly inflated is a fundamental element of riding a road bike. Not having enough pressure in your tyre could lead to pinch flats, spongy feeling when cornering and a decrease in performance. Conversely, pumping up your tyres in excess of the manufacturer's maximum limit could result in an overall harsh ride feel with poor traction, or worst, your tyre could explode off the rim. Here's a quick guide on how to properly pump a tyre.
Given this, owning a suitable pump is an important part of being a road cyclist. That said, road bike tyres often need to be pumped to pressures in excess of 90psi and so it's often best to purchase both a floor and hand pump. The larger of the two, a good floor pump will feature both presta and schrader valve attachments (explained below) and easily pump up your tyres to the required pressure. While a hand pump is useful when out on the road if you get a puncture, however the compact size means that reaching the desired pressure can be hard work. While we've suggested taking CO2 cartridges for a quick puncture solution, a hand pump is a fail-safe option and they are usually small enough to fit unobtrusively into your jersey pocket or fixed to your top tube.
There are two different kinds of valves you'll encounter; presta and schrader. Presta valves (aka - high pressure or 'French' valves) are most commonly found on road bikes and are easy to recognise because they are significantly narrower than schrader valves and feature a lock ring at the top that closes the valve. Schrader valves are most commonly found on recreational bikes, and are the same valves used on car tyres. Be sure that whichever valve type you have, your pump matches.
Maintenance
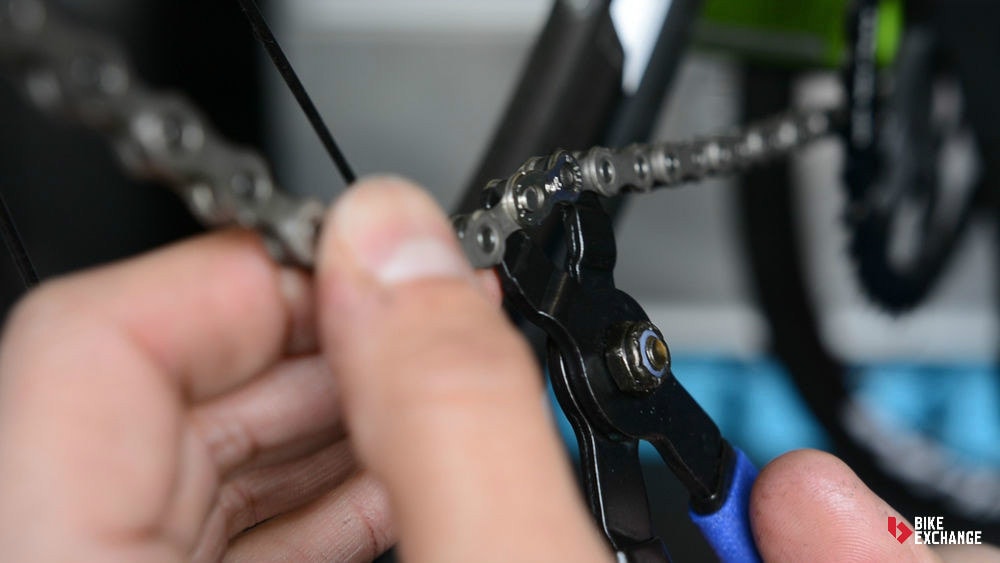
The list of potential maintenance items is long and can grow exponentially. If you're not keen on doing any of your own maintenance and would rather let a shop handle that, then all you really need is a bottle of chain lube and some rags. If you're keen to make a few adjustments yourself, we've listed a few basic items to consider.
Chain lube: It's important to keep your chain clean and lubricated, something that greatly helps with performance and longevity of parts. A lubricant is typically either 'wet' or 'dry'. Wet lube is more viscous and longer lasting than dry lube and is primarily used in poor weather conditions. Dry lube conversely is less viscous and requires more frequent applications, although it'll typically remain cleaner and collect less debris from the road surface. Whichever you decide on, be sure to wipe off any excess that would otherwise attract dirt and grime.
Degreaser: Keeping your drivetrain clean will improve your riding without any extra effort on the bike, and it will also save you money in the long run as you won't have to replace your chain, cassette or chainrings due to premature wear. A good degreaser should be biodegradable so it doesn't harm the environment or cause harm to sensitive components and paint.
Allen or hex key set: A complete set of Allen or hex keys should be enough to get into almost every bolt on your bike. This will enable you to change brake pads, adjust your saddle and cockpit, change pedals and countless other things. Most feature a long arm for additional leverage and some even come with an ergonomic handle. Look for a set that ranges from 1.5-10mm to cover most needs.
Workstand: A workstand is a great investment for any budding DIY cycling mechanic, however, it also makes cleaning and general maintenance tasks much easier.
Torque wrench: The best way to ensure your bolts are correctly tightened and to avoid damaging your frame and parts is with a torque wrench. The tool allows you to set a specific amount of torque, which will prevent overtightening that could otherwise lead to damage. This is especially important if you have a carbon bike or carbon components.
We hope this buyers guide has been helpful and provided some valuable information. You can browse BikeExchange for cycling accessories, or search for your local bike shop to get further assistance. Find more cycling advice, in-depth buyer's guides and product reviews at the BikeExchange Blog
**Follow BikeExchange: [Email](http://www.bikeexchange.co.nz/subscribe) | [Facebook](https://www.facebook.com/BikeExchange.com.au) | [Twitter](https://twitter.com/bikeExchange) | [Instagram](https://www.instagram.com/bikeexchange/) | [YouTube](https://www.youtube.com/user/BikeExchangeTV) | [STRAVA](https://www.strava.com/clubs/BikeExchange)**


