

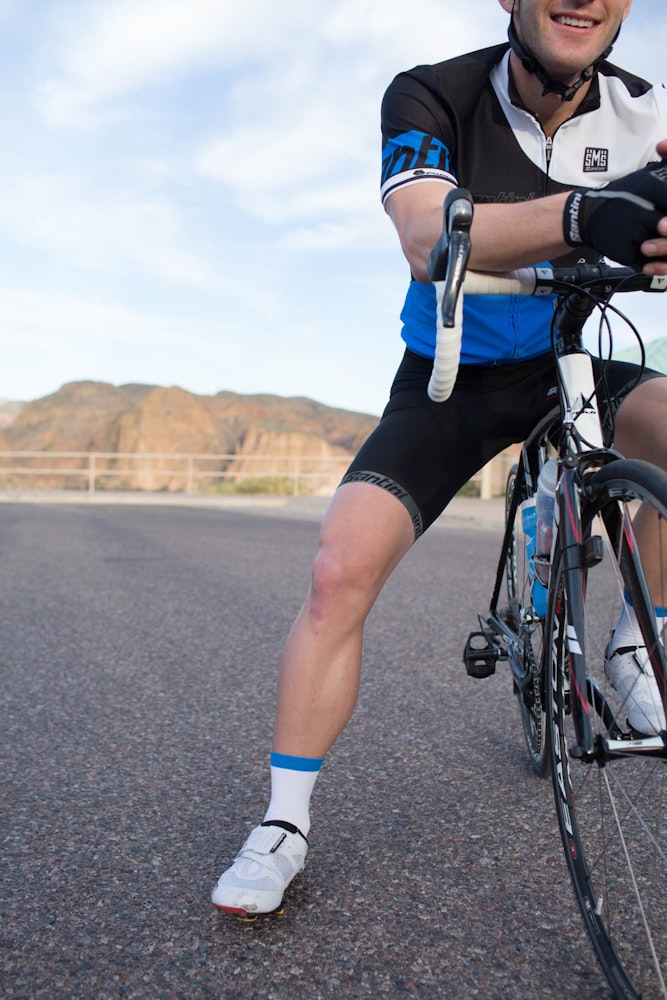
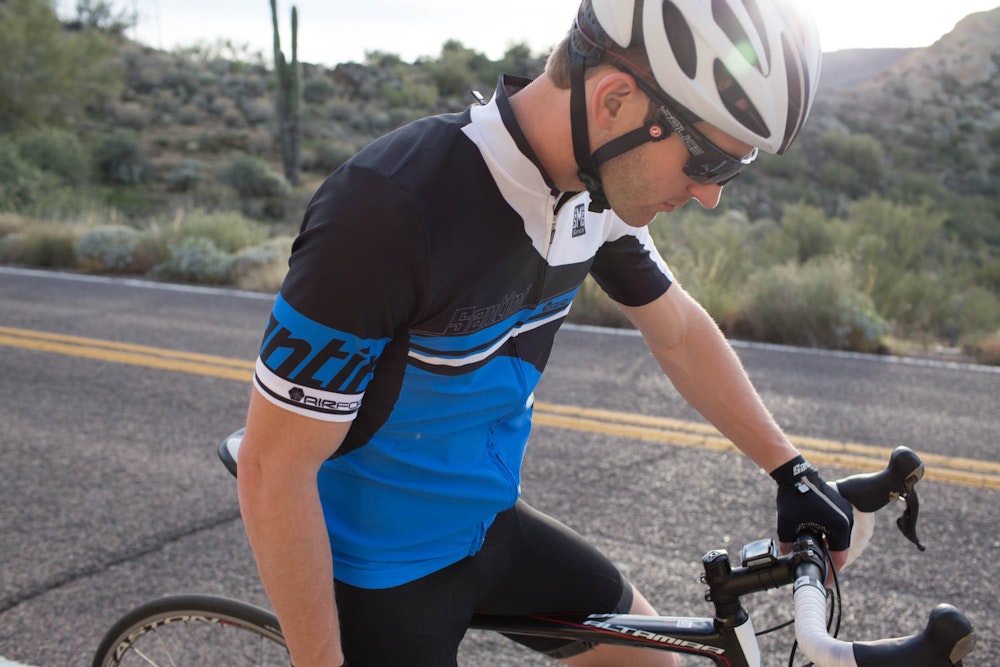
Kit has become big.
Once upon a time our options were finite, these days there is pretty much no ceiling on what can and can’t be designed when it comes to winning kit. More and more bunches in particular are turning to DIY kit to not only badge their riders, but make sure the group has a look that’s not going to be found on every other cyclist out there.
See also: Our review of the Santini Anna Meares kit
But there’s an art to designing and nailing cool kit.
We asked the team at Santini Maglificio Sportivo to step us through the process of getting kit from sketch to happy customer. Fergus their head designer gave us a good idea of how it all pans out.
Pick up your pencils and start drawing (actually – wait until step three for that…)
1. Understand the garment
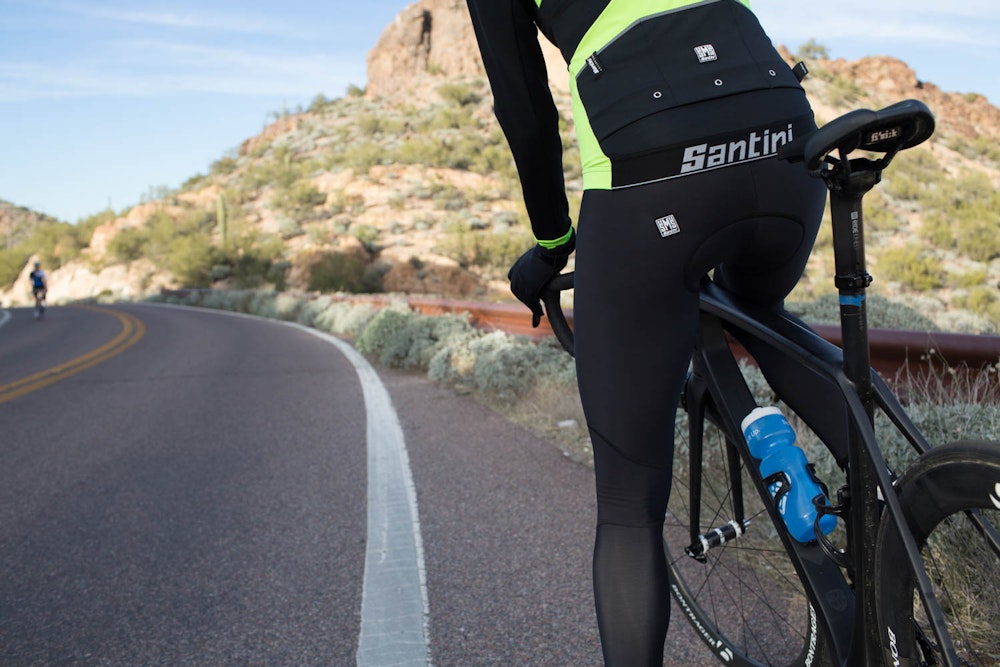
Before you even think about design, you have to consider form. Know how the garment is put together; where the seams lie, what portion of the back the pockets take up, how long the legs and arms are, etc. All these features are important to understand as they’re going to create considerations to your design.
2. Are there any ‘must-haves’?
By this Fergus is talking about things like sponsor logos, club colours; basically mandatory features that you have to accept in full. If there are must-haves then you need to consider things like where they will feature on the kit, what size, and how your design will work with them.
See also: How to take care of your kit
3. Get your creative on
OK this is probably the step we would have started with, so it’s a good job Fergus was on hand. Here’s the fun part – where you basically get to pick up your pencil and “start doodling”. Research as well – ask questions, read up, look for inspiration and basically bring together all these learnings and elements and let them help inform your designs.
Fergus says a lot of his inspiration comes from his workplace – being around Santini family members who have life-long connections and involvement in cycling and who’ve lived and breathed some of the sport’s most memorable moments. OK so not all of us can be that lucky, but he does also say that a lot of his creativity comes from time out on the bike – just soaking it up with other riders and hearing what they’re thinking about and what’s got them passionate. You can never underestimate reading time, either, he says. Jump onto sites, open books and just be a sponge.
4. It’s vector time
Or in other words, this is when your creative work goes digital.
So at this step your drawings are applied to a digitalised model of the kit, and it’s usually here that you start to get group buy-in. It’s the vector format that enables everyone else to see your creativity, and this is when you’re probably going to get feedback to ‘maybe do this with that’, or ‘perhaps lighten that colour or go with this colour instead’ and blah, blah, blah. Possibly this stage could be otherwise referred to as the argy-bargy step. Better here rather than once the kit’s produced though!
According to Fergus what ultimately makes for a great kit is when everything just works together – good logos, considered graphics, complementary colours and just a holistic approach that has the sum of parts that are working together rather than in friction with each other.
See also: Kit rules - learn them before you gear up
5. Get your tech on
OK – everyone’s had their say and you’ve all come to an agreement on how this A1 new kit is going to look. So now it’s time for the technical pattern, where everything is prepared for print and, ultimately, #newkitday.
And as Fergus says, if it looks good, it is good.
Keep up with news, reviews, interviews and more - follow us on Facie or subscribe to get our regular email


